Format the Design
The design page now has a name (SplashScreens), a display title (Altova Splash Screens), and a page source ($XML1). In this part, you will:
•Add a Table control for presentation purposes
•Add formatting: the horizontal line control, spacing, and color
•Copy-paste controls to other parts of the design
Add a table
We will add a table for presentation purposes.
1.From the Controls Pane, drag the Table control into the design and drop it below the label.
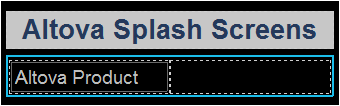
2.In the New Table dialog that appears, specify that the table should have two static columns and one static row, and then click OK. The table is created with a single row and two columns.
3.From the Controls Pane, drag and drop the Label control into the left-hand cell, and give it a static text value of Altova Product (see screenshot below, which shows the table highlighted).
Add a horizontal line, spacing, and color
Add a horizontal line to separate the title from the table as follows:
1.From the Controls Pane, drag and drop the Horizontal Line control between the title and the table (see screenshot below; the horizontal line is dark blue).
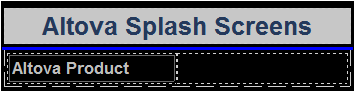
2.With the line selected in the design, in the Styles & Properties Pane, set the color and width of the line.
3.Copy the line, by selecting it and pressing Ctrl+C, and paste it below the table (using Ctrl+V). The line will be copied with all the properties that you defined for it.
4.You can change the background color of the label, the table, and individual table cells. Try this by placing the cursor in the respective components, and selecting different background colors in the Styles & Properties Pane.
5.Select the label control and set Margin Top and Margin Bottom properties in the Styles & Properties Pane.
6.Try copying different components to various parts of the design.