Text View Settings
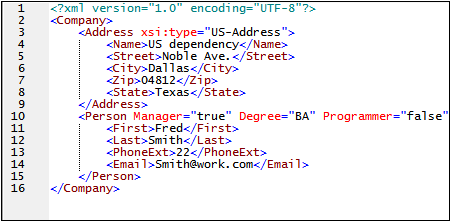
In this section, you will learn how to set up a "pretty-printed" document and how to use bookmarks while editing. When a document is pretty-printed it is displayed in Text View so that each lower level in the XML hierarchy is indented deeper than the previous level (see screenshot below). Bookmarks enable you to mark document positions that you wish to return to quickly.
Pretty-printing
Pretty-printing involves two steps: (i) setting up pretty-printing, (ii) applying pretty-printing.
1.Open the file CompanyFirst.xml, which is in the C:\Documents and Settings\<username>\My Documents\Altova\XMLSpy2026\Examples\Tutorial folder.
2.Switch to Text View if Text View is not the default starting view of XML documents.
3.Select the menu command View | Text View Settings to open the Text View Settings dialog (screenshot below).
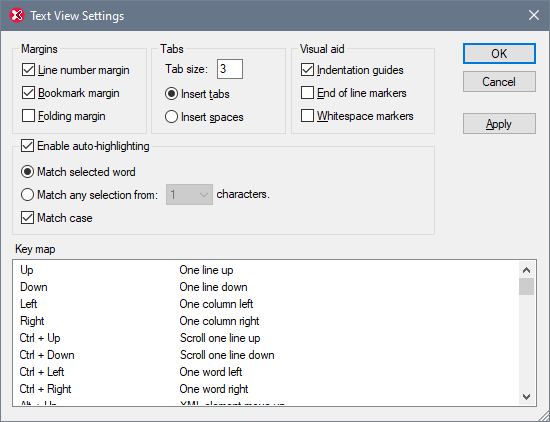
4.In the Tabs pane, decrease the Tab size to 3. Leave the default selection of the Insert Tabs radio button as it is. This will cause the pretty-printing indent to be a tab (rather than spaces) and each tab will have a width of three spaces. Click OK when done.
5.Click the menu command Edit | Pretty-Print. This applies pretty printing. The document display will be reset with the new tab values.
6.Open the Text View Settings dialog again (View | Text View Settings) and, in the Visual Aid pane, switch on the end-of-line markers.
7.In Text View, go to the end of any line and delete the end-of-line marker so that the next line jumps up a line.
8.Switch to Grid View and back again to Text View.
9.Click the menu command Edit | Pretty-Print. The document will be pretty-printed, and the the end-of-line marker you deleted will be reinstated.
Note: If, in the Pretty-printing section of the Options dialog (Tools | Options | Pretty-printing), you uncheck the Use Indentations check box and pretty-print, then all lines will begin without any indentation.
Bookmarking
Bookmarks are placed in a bookmark margin on the left of lines you wish to mark. You can then quickly move up and down through the bookmarks in your document.
1.In the Text View Settings dialog (View | Text View Settings, screenshot above) ensure that the Bookmarks Margin option in the Margins pane is selected. Click OK when done.
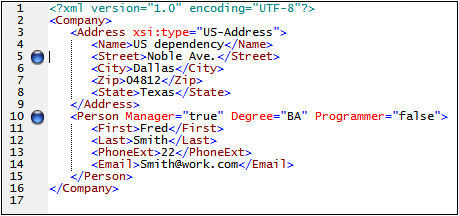
2.In Text View of the file CompanyFirst.xml, place the cursor anywhere in a line you wish to bookmark, then select the menu command Edit | Insert/Remove Bookmark. The line will be bookmarked and indicated by a blue bookmark in the bookmark margin (see screenshot below).
3.Create a bookmark on another line in the same way as in Step 2.
4.Press F2 (or the command Edit | Go to Next Bookmark) to go down the document to the next bookmark. Press Shift+F2 (or the command Edit | Go to Previous Bookmark) to go up the document to the previous bookmark. Repeat either or both commands as many times as you like.
5.Place the cursor in one of the bookmarked lines and select the menu command Edit | Insert/Remove Bookmark. The bookmark is removed.
6.Save and close the file. No bookmark information is saved with the file. Reopen the file to check this.