Integrate Schema Wrapper Libraries
To use the Altova libraries in your custom project, refer to the libraries from your project or include them in your project, as shown below for each language.
C#
To integrate the Altova libraries into an existing C# project:
1.After XMLSpy generates code from a schema (for example, YourSchema.xsd), build the generated YourSchema.sln solution in Visual Studio. This solution is in a project folder with the same name as the schema.
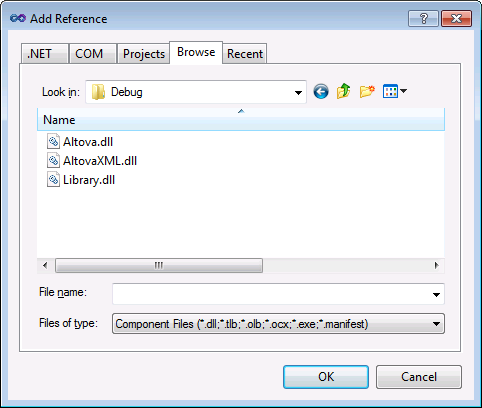
2.Right-click your existing project in Visual Studio, and select Add Reference.
3.On the Browse tab, browse for the following libraries: Altova.dll, AltovaXML.dll, and YourSchema.dll located in the output directory of the generated projects (for example, bin\Debug).
C++
The easiest way to integrate the libraries into an existing C++ project is to add the generated project files to your solution. For example, let's assume that you generated code from a schema called Library.xsd and selected c:\codegen\cpp\library as target directory. The generated libraries in this case are available at:
•c:\codegen\cpp\library\Altova.vcxproj
•c:\codegen\cpp\library\AltovaXML\AltovaXML.vcxproj
•c:\codegen\cpp\library\Library.vcxproj
First, open the generated c:\codegen\cpp\library\Library.sln solution and build it in Visual Studio.
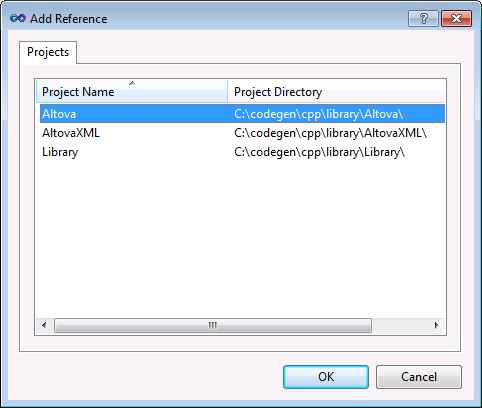
Next, open your existing Visual Studio solution (in Visual Studio 2010, in this example), right-click it, select Add | Existing Project, and add the project files listed above, one by one. Be patient while Visual Studio parses the files. Next, right-click your project and select Properties. In the Property Pages dialog box, select Common Properties | Framework and References, and then click Add New Reference. Next, select and add each of the following projects: Altova, AltovaXML, and Library.
See also the MSDN documentation for using functionality from a custom library, as applicable to your version of Visual Studio, for example:
•If you chose to generate static libraries, see https://msdn.microsoft.com/en-us/library/ms235627(v=vs.100).aspx
•If you chose to generate dynamic libraries, see https://msdn.microsoft.com/en-us/library/ms235636(v=vs.100).aspx
The option to generate static or dynamic libraries is available in the code generation options (see Code Generation Options).
Java
One of the ways to integrate the Altova packages into your Java project is to copy the com directory of the generated code to the directory which stores the source packages of your Java project (for example, C:\Workspace\MyJavaProject\src). For example, let's assume that you generated code in c:\codegen\java\library. The generated Altova classes in this case are available at c:\codegen\java\library\com.
After copying the libraries, refresh the project. To refresh the project in Eclipse, select it in the Package Explorer, and press F5. To refresh the project in NetBeans IDE 8.0, select the menu command Source | Scan for External Changes.
Once you perform the copy operation, the Altova packages are available in the Package Explorer (in case of Eclipse), or under "Source Packages" in the Projects pane (in case of NetBeans IDE).
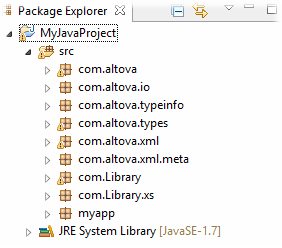
Altova packages in Eclipse 4.4
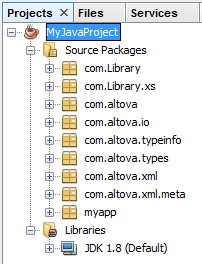
Altova packages in NetBeans IDE 8.0.2