Plug-Ins
The Plug-Ins tab allows you to integrate plug-ins and to place commands, where these have been so programmed, in an application menu and/or toolbar. In the Plug-In tab (screenshot below), click Add Plug-In, and browse for the plug-in's DLL file (see 'Creating plug-ins' below). Click OK to add the plug-in. Multiple plug-ins can be added.
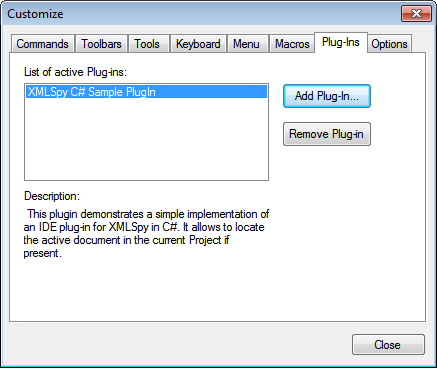
After a plug-in has been added successfully, a description of the plug-in appears in the dialog and the Remove Plug-In button becomes enabled. If the plug-in code creates toolbars and menus, these will be immediately visible in the application interface. To remove a plug-in select it and click Remove Plug-In.
Creating plug-ins
Source code for sample plug-ins has been provided in the application's (My) Documents folder: Examples\IDEPlugin folder. To build a plug-in from such source code, do the following:
1.Open the solution you want to build as a plug-in in Visual Studio.
2.Build the plug-in with the command in the Build menu.
3.The plug-in's DLL file will be created in the Bin or Debug folder. This DLL file is the file that must be added as a plug-in (see above).
For more information about plug-ins, see the section IDE Plugins.