Navigating the Document
You can use the following features to navigate a document in Text View:
•Text highlighting enables you to find all matches of a text string or word that you select. Each match is indicated in the scroll bar, so you can navigate easily through all the matches.
•Document overview in the scroll bar shows you the relative location of the cursor and text selection within the document.
•Go to line/character takes you straightaway to the line and character you specify.
Text highlighting
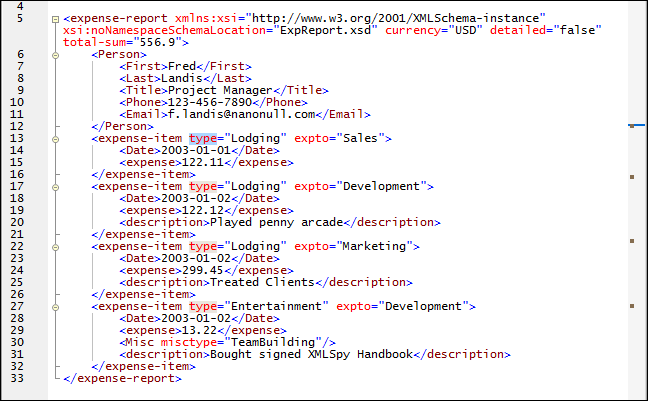
If text highlighting is enabled in the Text View Settings dialog (View | Text View Settings), then all matches in the document of a text selection that the user makes are highlighted. The selection will be highlighted in pale blue, and matches will be highlighted in pale orange (see screenshot below). The selection and its matches are indicated in the scroll bar by gray marker-squares. Note also that the current cursor position is given by the blue cursor-marker in the scroll bar.
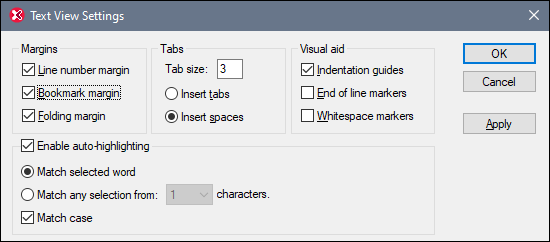
To switch the text highlighting feature on, select Enable auto-highlighting in the Text View Settings dialog (View | Text View Settings, screenshot below). A selection can be defined to be an entire word or a fixed number of characters. You can also specify whether casing should be taken into account or not.
Note the following points:
•For a character selection, you can specify the minimum number of characters that must match, starting from the first character in the selection. For example, you can choose to match two or more characters. In this case, one-character selections will not be matched, but a selection consisting of two or more characters will be matched. So, in this case, if you select t, then no matches will be shown; selecting ty will show all ty matches; selecting typ will show all typ matches; and so on.
•For word searches, the following are considered to be separate words: element names (without angular brackets), the angular brackets of element tags, attribute names, and attribute values without quotes.
Note: Element start-tag and end-tag matching is a separate feature that is not affected by the Enable auto-highlighting setting.
Document overview in the scroll bar
The scroll bar provides the following features:
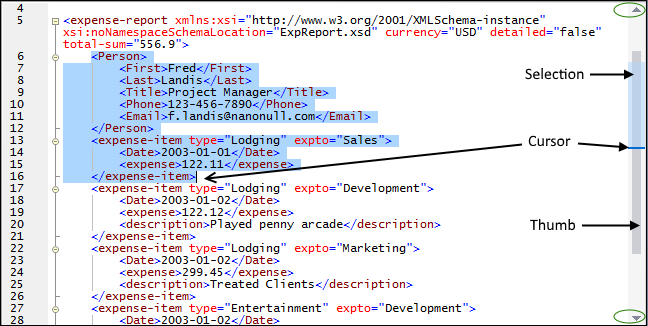
•It relates the sizes of the following to each other (see screenshot below): (i) the entire document (scroll bar); (ii) the document segment that is currently in the window (thumb); (iii) the current text selection (blue bar), if any; and (iv) the current cursor location (cursor-marker).
•It enables you to navigate the document by either: (i) dragging the scroll bar's thumb up and down, or (ii) clicking the Page Up and Page Down arrows (circled in green in the screenshot below).
Note the following points:
•The length of the scroll bar corresponds to the length of the entire document.
•If only a part of the document fits in the window, then this windowed part corresponds to the scroll bar's thumb (see screenshot above). You can drag the thumb up and down to bring other parts of the document into the window. It is as if the thumb represents the window and you are moving the window up and down the document in order to view the document.
•The current text selection is indicated in the scroll bar by the blue bar. The size of the blue bar relative to the size of the scroll bar is proportional to the size of the text selection relative to the size of the entire document. If the text selection does not exceed one line, the blue bar will not be visible.
•The cursor position is indicated by a dark blue cursor-marker. The cursor-marker's relative position in the scroll bar corresponds to the cursor's relative position in the document.
Go to line/character
This command in the View menu and Text toolbar enables you to go to a specific line and character in the document text.