Add to, Remove from Source Control
Adding
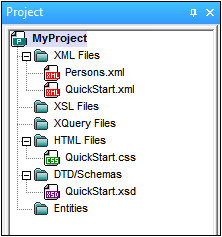
After a project has been added to source control, you can place files either singly or in groups under source control. This is also known as adding the files to source control. Select the file in the Project window and then click the command Project | Source Control | Add to Source Control. To select multiple files, keep the Ctrl key pressed while clicking on the files you wish to add. Running the command on a (green) project folder (see screenshot below) adds all files in the folder and its sub-folders to source control.
When files are added to source control, the local folder hierarchy is replicated in the repository (it is not the project folder hierarchy that is replicated). So, if a file is in a sub-folder X levels deep in the local folder, then the file's parent folder and all other ancestor folders are automatically created in the repository.
When the first file from a project is added to source control, the correct bindings are created in the repository and the project file (.spp file) is added automatically. For more details, see the section Add to Source Control.
Source control symbols
Files and the project folder display certain symbols, the meanings of which are given below.
| Checked in. Available for check-out. |
| Checked out by another user. Not available for check-out. |
| Checked out locally. Can be edited and checked-in. |
Removing
To remove a file from source control, select the file and click the command Project | Source Control | Remove from Source Control. You can also remove: (i) files in a project folder by executing the command on the folder, and (ii) the entire project by executing the command on the project.