Transformation Results as Global Resources
You can use the result of a MapForce mapping or StyleVision transformation as a global resource. This topic shows how to create a global resource from the transformation result and use this global resource across different Altova applications.
In order to make a mapping output available as a global resource, the transformation language of the mapping must be set to Built-In, or the mapping must contain only components which are supported by the Built-In language.
Important:
•The workflows mentioned above are meaningful between Altova desktop applications installed on the same computer. •It is not possible to use the result of MapForce and StyleVision transformations as global resources in Altova server products and in MapForce Basic Edition. |
The example below shows how to use the result of a MapForce transformation as a global resource.
Example: Result of MapForce Transformation
This example illustrates how to create a workflow between Altova MapForce and Altova XMLSpy. More specifically, the example shows how to create a global resource from a MapForce mapping, trigger the execution of this mapping in XMLSpy, and view the outputs in XMLSpy, which were generated by MapForce.
Step 1: Create a global resource
You can take this step using MapForce or XMLSpy.
1.Click the  toolbar button (Manage Global Resource). Alternatively, go to the Tools menu and click Global Resources.
2.Click Add | File and enter a descriptive name in the Resource alias text box. In this example, we call our default configuration MappingResult.
3.Select the option Result of MapForce Transformation.
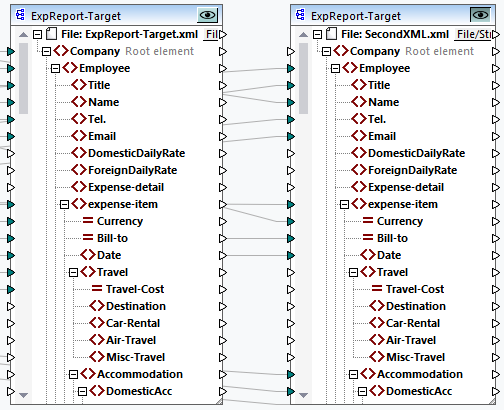
4.Click Browse and select the mapping Tutorial\Tut-ExpReport-multi.mfd. As shown below, this mapping has one input and two outputs.
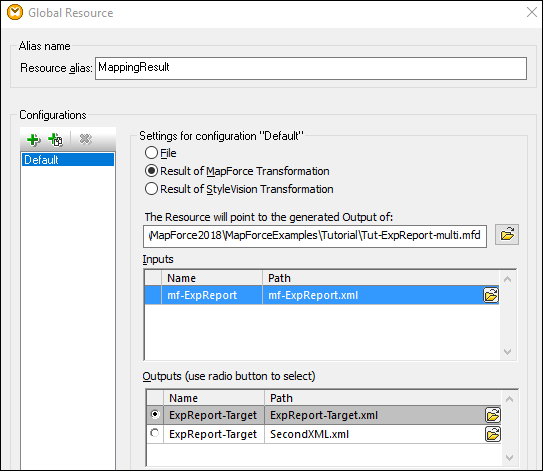
The screenshot below illustrates the two outputs listed in the Global Resource dialog box. We will generate each output file separately in the C:\temp folder (see Step 2 below).
Step 2: Generate output files
At this stage, we would like to generate each of the two output files (see screenshot above) in the C:\temp folder and change the file names. To achieve this, we will create a configuration for each output. Take the steps below:
1.In the Outputs section of the Global Resource dialog box, click Browse next to the first output and enter C:\temp\file1.xml as a destination file name. This is the default configuration which will produce the first output file.
2.Click ![]() under Configurations and enter a name for the new configuration (in this example, Output2). In the Outputs section, click the radio button near the second file (SecondXML.xml).
under Configurations and enter a name for the new configuration (in this example, Output2). In the Outputs section, click the radio button near the second file (SecondXML.xml).
3.In the Outputs section, click Browse next to the second output and enter C:\temp\file2.xml as a destination file name. This is the second configuration which produces the second output file.
4.Click OK.
Step 3: Use the global resource
The instructions below show how to use the global resource we created in the previous step.
Default configuration
To use the default configuration in XMLSpy, take the steps below.
1.Run XMLSpy.
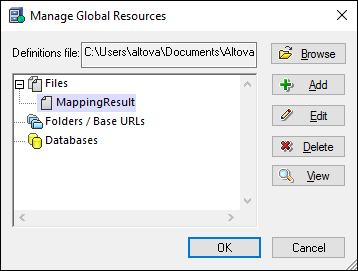
2.Go to the Tools menu and click Global Resources.
3.In the Files section, click the MappingResult global resource and then click View (see screenshot below). This executes the mapping, produces the default output (file1.xml) and loads it into the main pane of XMLSpy. The file is saved as C:\temp\file1.xml.
Second configuration
To trigger the mapping execution with the second configuration, do the following:
1.Go to the Tools menu in XMLSpy and click Active Configuration | Output2.
2.Click Reload when prompted.
As a result, the second output file is loaded into the main window of XMLSpy. The file is saved as C:\temp\file2.xml.