JSON Lines
JSON Lines (http://jsonlines.org/) is a text format that extends JSON. You may find it convenient for storing or processing JSON data where new line delimiters are important, such as log files. Each line in a JSON Lines file stores a JSON value, for example:
{"name":"Alethia Alonso","email":"alethia@example.org"} {"name":"Klaus Mauer","email":"klaus@example.org"} {"name":"Natsuo Shinohara","email":"natsuo@example.org"} |
With MapForce Enterprise Edition, you can read data in JSON Lines format and convert it to any other formats supported by MapForce. Likewise, you can convert data from any format supported by MapForce to JSON Lines format.
Note: In Web service calls created with MapForce, you can use standard JSON as request or response structure; JSON Lines or JSON5 structures are not supported.
To read or write data in JSON Lines format, MapForce requires a JSON schema, like with standard JSON files. The difference is that, in case of JSON Lines, each line is treated as a separate JSON file for validation purposes. The schema you provide to MapForce, therefore, validates each individual line as a JSON document.
The file extension suggested by the authors of JSON Lines format is .jsonl.
How to map data to or from JSON Lines format
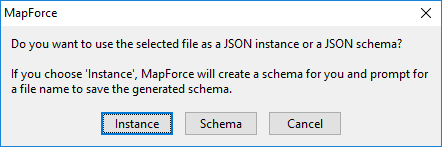
1.On the Insert menu, click JSON, and browse for the .jsonl instance file. Alternatively, click the  toolbar button. If you already have a JSON schema file and prefer to supply the instance file later, browse for a valid JSON schema. This works in the same way as with plain JSON files (see Adding JSON Files as Mapping Components). Just have in mind that, in case of JSON Lines format, the JSON schema must describe the contents of each line in the instance file, not the file as a whole.
2.After the JSON component has been added to the mapping, right-click its title bar, select Properties, and then select the JSON Lines check box.
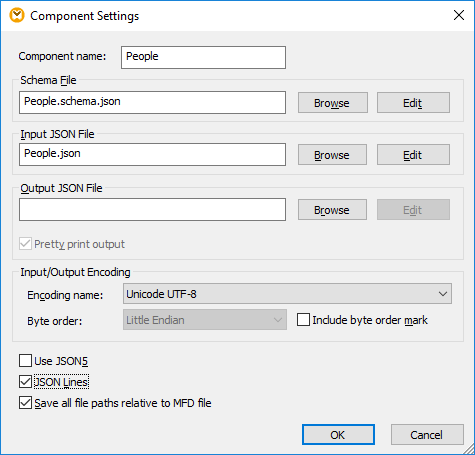
To set or change the JSON instance file from which the mapping reads data, enter the path in the Input JSON File text box. Filling this text box is not required if the mapping writes data to a JSON file.
To set or change the generated file name, enter the desired file name (for example, "somefile.jsonl") in the Output JSON File text box of the dialog box above. Filling this text box is not required if the mapping reads data from a JSON file. For reference to other settings, see JSON Component Settings.
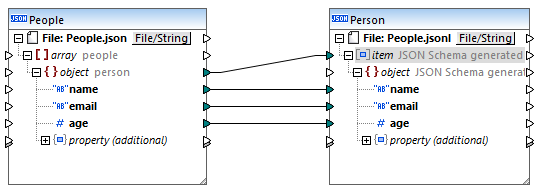
When the JSON Lines check box is selected, the JSON component has a new item node on the mapping. By connecting any sequence of values to it (for example, the Rows item of a CSV source component), you can create multiple lines in the JSON Lines file (one line for each item in the sequence). In the mapping below, the source data is a standard JSON file and the target is a JSON Lines file. Thanks to the topmost connection, a new JSON line will be created in the target People.jsonl file for each object in the source People.json file when the mapping runs:
Likewise, if your mapping should read data from a JSON Lines file, you can connect the item node to the desired target item (for example, an XML item). This would create as many XML elements in the target as there are JSON lines in the source.