Local Relations in Source Components
This example shows you how to combine data returned by a stored procedure with data from a table in the same database, with the help of local relations.
If you haven't done so already in a previous example, run the following script to create the demo stored procedure in the "AdventureWorks" database. You can do this from a query window of Microsoft SQL Server Management Studio, or directly from the DB Query pane of MapForce, see Browsing and Querying Databases. In either case, make sure that your database user account has permission to create stored procedures.
CREATE PROCEDURE HumanResources.uspGetAllEmployees |
The stored procedure above returns employee information from the vEmployeeDepartment view. The following steps show you how to create a mapping that consumes data returned by this procedure.
1.Connect to the "AdventureWorks" database from MapForce, as described in Adding Stored Procedures to the Mapping. Make sure that your database user account has permission to view and execute stored procedures.
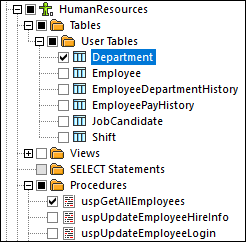
2.When prompted to choose database objects, select the Department table and the uspGetAllEmployees stored procedure.
3.Click the Show Context Menu  button next to the stored procedure and select Show Nodes as Source.
4.Click the Show Context Menu button again and select Edit Recordset Structures. The "Recordset Structures" dialog box appears.
5.Click Define input parameters and call procedure. The "Evaluate Stored Procedure" dialog box appears.
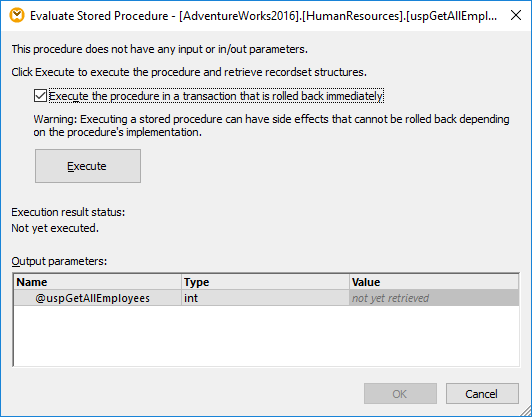
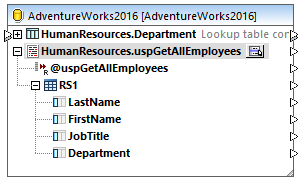
6.Click Execute, and then click OK. The recordset structure ("RS1") is now visible both on the "Recordset Structures" dialog box and on the mapping.
Define the local relationships
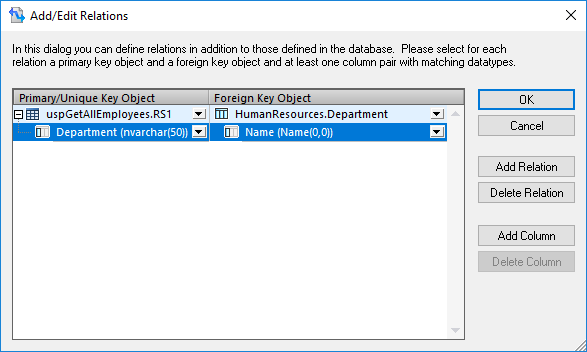
Let's now define a local relationship between the Department column of the returned recordset and the Name column of the Department table.
1.Right-click the title bar of the database component and select Add/Remove/Edit Database Objects from the context menu.
2.Click Add/Edit Relations, and then click Add Relation. Define the relationships as shown below.
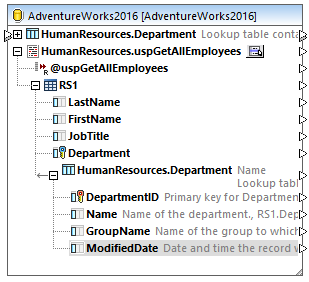
3.Click OK to close the dialog box. Notice that the Department table has now become a child of the RS1 recordset.
Completing the mapping
Thanks to the relationship that was just created, it is now possible to map data from the recordset combined with data from the table. For the scope of this example, let's write data to a target XML file, as follows:
1.On the Insert menu, click XML Schema/File and select the following file: <Documents>\Altova\MapForce2026\MapForceExamples\EmployeesWithDetails.xsd.
2.When prompted to provide a sample XML instance file, click Skip.
3.Draw the mapping connections as shown below.
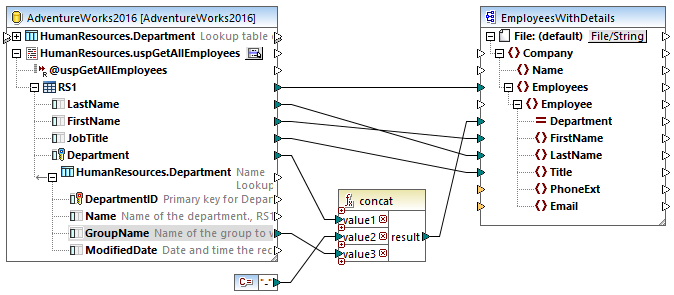
The mapping illustrated above writes data from the database to a target XML file. The source data is a combination of data extracted by the stored procedure with data extracted directly from a table. The mapping uses the concat function to produce a string that includes the department name, followed by a dash character, followed by the group name.
To preview the mapping, click the Output button and observe the mapping result in the Output pane, for example:
