Adding the ActiveX Controls to the Toolbox
To use the MapForce ActiveX controls in an application developed with Visual Studio, the controls must first be added to the Visual Studio Toolbox, as follows:
1.On the Tools menu of Visual Studio, click Choose Toolbox Items.
2.On the COM Components tab, select the check boxes next to the MapForceControl, MapForceControl Document, and MapForceControl Placeholder.
In case the controls above are not available, follow the steps below:
1.On the COM Components tab, click Browse, and select the MapForceControl.ocx file from the MapForce installation folder. Remember that the MapForce Integration Package must be installed; otherwise, this file is not available, see Prerequisites.
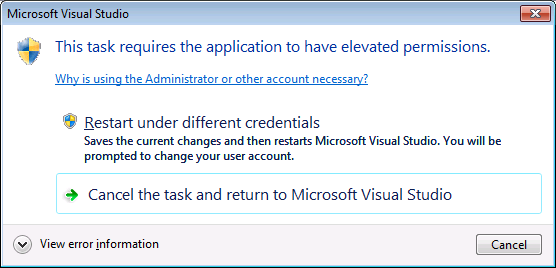
2.If prompted to restart Visual Studio with elevated permissions, click Restart under different credentials.
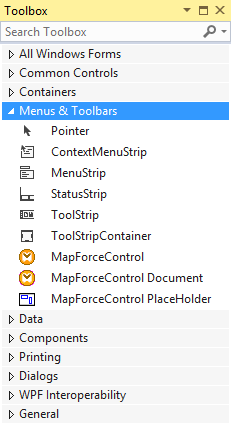
If the steps above were successful, the MapForce ActiveX controls become available in the Visual Studio Toolbox.
Note: For an application-level integration, only the MapForceControl ActiveX control is used (see Integration at Application Level). The MapForceControl Document and MapForceControl Placeholder controls are used for document-level integration (see Integration at Document Level).