Watermarks
A watermark is an image or text that is displayed on the background of each page of a document section.
The following options are available:
•Watermarks must be defined separately for each document section. Each section can therefore have a different watermark.
•For each document section, you must define (with XPath) some condition to be fulfilled in order for that section's watermarks to be enabled. For example, the condition could be, say, that the drafts attribute of some element must have the value true. If the condition is not fulfilled, or if the condition evaluates to false(), that watermark is disabled.
•A watermark can be a text that you customize in StyleVision or it can be an image you select.
•In the design, you can specify the location and appearance of watermarks on the page.
Note: Watermarks are available only for print-output media, not for HTML or Authentic View.
Creating a watermark
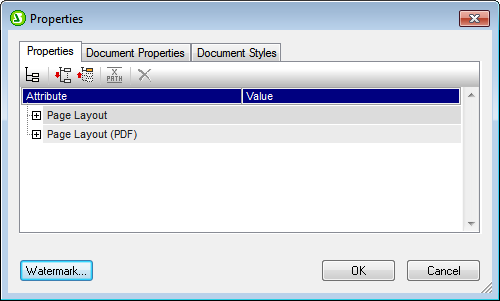
A watermark can be created separately for each document section. To create (or to edit) a watermark, click the Edit Properties link of the Initial Section or Document Section items in the design (screenshot below).

In the Properties dialog that pops up (screenshot below), click the Watermark button at the bottom of the dialog.
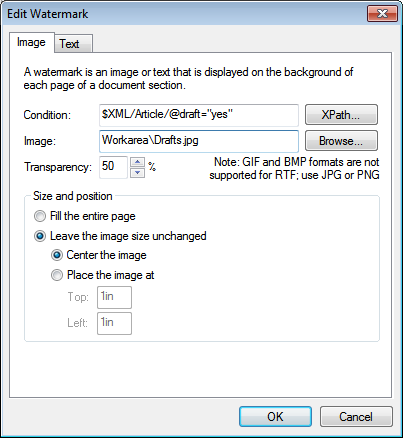
This pops up the Edit Watermark dialog (screenshots below), in which you specify the properties of the watermark/s of that document section. According to whether you wish to use an image or text as the watermark, select either the Image or Text tab. (If you wish to define both an image as well as a text as the watermarks of that section, enter the details of each type in their respective tabs. In this case, both types of watermark will be created in the output.)
Parameters for image watermarks
The Image tab (see screenshot above) contains the parameters for defining an image watermark for that section. An XPath expression specifies the condition for enabling the image watermark. If you do not wish to specify any condition, then enter true() in the Condition text box. This causes the condition to evaluate to true(). If the condition evaluates to false(), or if no condition is specified, then the image watermark is not enabled. Next, browse for the image, so that the filepath to the image is entered in the Image text box.
You can then set the transparency of the image and its size and position on the page. The Fill the entire page option expands the image till one dimension (height or width) is filled. Click OK when done.
Parameters for text watermarks
The Text tab (see screenshot below) contains the parameters for defining a text watermark for that section. An XPath expression specifies the condition for enabling the text watermark. If you do not wish to specify any condition, then enter true()in the Condition text box. This causes the condition to evaluate to true(). If the condition evaluates to false(), or if no condition is specified, then the text watermark is not enabled.

Next, enter the text you wish to use as the watermark, then specify its formatting (font family, font size, transparency, and color) and orientation. Note that the text will be stretched to extend across the page in all orientations. Click OK when done.
Removing or disabling a watermark
To remove or disable a watermark, in the Edit Watermark dialog (see screenshots above), either delete the condition or set the XPath expression of the condition to false(). Note that the Image tab and Text tab each have a separate condition, for their respective watermarks.