Installing SchemaAgent Server
The SchemaAgent Server installation package can be downloaded free of charge from the SchemaAgent download page (https://www.altova.com/schemaagent/download).
To install SchemaAgent Server:
1.Double-click the SchemaAgent Server installer file.
2.Follow the on-screen instructions. During installation, a dialog box prompts you to choose whether SchemaAgent Server should be installed as a standalone server, or a service. Each of these options is described below.
3.If necessary, start the server (see Starting SchemaAgent Server).
Installing SchemaAgent Server as standalone server
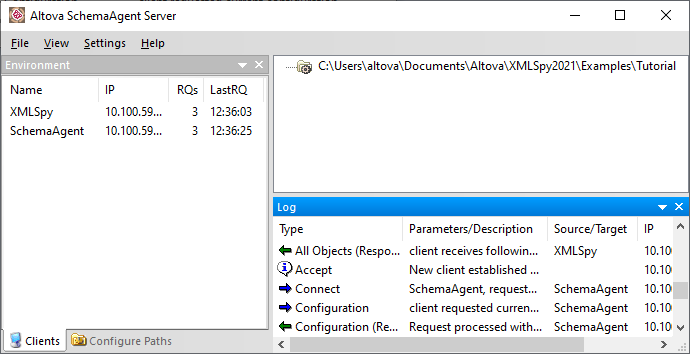
When installed as a standalone server, SchemaAgent Server can be started as a standard Windows application, from the Start  menu. When the server is started, an application icon
  appears in the system tray. In this approach, the application has a graphical user interface from where you can configure the search paths and other settings. This kind of installation is well suited if you need to access the graphical user interface frequently (for example, in order to change the search paths).
Installing SchemaAgent Server as a service
When installed as a service, SchemaAgent Server is available as a service in Control Panel | Administrative Tools | Services, and can be managed in the same way as other Windows services. The advantage is that it can be configured to start automatically when the system starts (this option is also available on the installation wizard). Installing SchemaAgent Server as a service is suitable when it must act as a network server for multiple clients.
Note that, in this scenario, SchemaAgent Server does not have a graphical user interface and cannot be started from the Start menu or from a desktop shortcut. Also, no system tray icon is available. In order to configure SchemaAgent Server (that is, define search paths), you must first install SchemaAgent Server as a standalone server, configure it, and then change the installation method from the command line (see instructions below).
Changing the installation type
If you want to change the installation model (from standalone to service, or vice versa) after you have installed the program, you can do so by calling SchemaAgentServer.exe using the command line. Otherwise, you would have to uninstall SchemaAgent Server and reinstall it choosing a different installation method.
The commands listed below are available when calling SchemaAgentServer.exe from the command line. The executable always returns a return code when run in command-line mode. If an error is encountered using the -install and -remove parameters, then the returned error code is identical to the code supplied by the operating system.
No command line parameters | Start as standalone application. |
/install or -install | Install as a service. |
/remove or -remove | Uninstalls the service. |
/quiet or -quiet | Suppresses message boxes that appear when an error occurs using the Install or Remove commands. |
To change the installation type from "standalone" to "service":
1.Ensure that SchemaAgent Server is not running. To exit a running SchemaAgent Server, right-click the Altova SchemaAgent Server application icon in the system tray and select Shutdown from the context menu.
2.Open a Command Prompt window (as administrator), and change the current directory to the installation folder of SchemaAgent Server (C:\Program Files\Altova\SchemaAgentServer2026 by default).
3.At the command prompt, enter SchemaAgentServer.exe /install to install SchemaAgent Server as a service.
4.Start SchemaAgent Server as a service (see Starting SchemaAgent Server).
To change the installation type from "service" to "standalone":
1.Ensure that SchemaAgent Server is not running. To exit a running SchemaAgent Server service, open Control Panel | Administrative Tools | Services, right-click the SchemaAgent Server Service and choose Stop from the context menu.
2.Open a Command Prompt window (as administrator), and change the current directory to the installation folder of SchemaAgent Server (C:\Program Files\Altova\SchemaAgentServer2026 by default).
3.At the command prompt, enter SchemaAgentServer.exe /remove to uninstall the existing SchemaAgent Server service.
4.At the command prompt, enter SchemaAgentServer.exe to start the standalone installation.