Importing Binary Types Programmatically
With UModel, you can import binary types from .NET .dll or Java .jar files, either from the graphical user interface, or programmatically using the UModel API. This example illustrates how to import binary types from a NET .dll file into UModel using the UModel API. For information about importing binary types from the graphical user interface, see Importing Java, C# and VB.NET Binaries.
This example uses Microsoft Visual Studio 2019 and C#. The instructions below (except for the code listing) are similar for VB.NET. To complete this example, you also need a .dll that contains some types (such as classes or interfaces) that you would like to import into UModel.
To accomplish the task, we will use an existing C# demo application that already integrates into the UModel API, rather than creating a new project from scratch. Namely, we will add to this demo application a new button. When clicked, the button will create a new UModel project and import into it types from a .dll file. To begin, run Visual Studio and open the following solution: C:\Users\<username>\Documents\Altova\UModel2025\UModelExamples\API\C#\AutomateUModel_VS2010.sln.
Note: The demo application already includes a reference to the UModel Type Library so it is not necessary to add a reference explicitly. However, if you are creating a new Visual Studio project, make sure to reference the UModel Type Library from your project, see How to Reference the UModel Type Library.
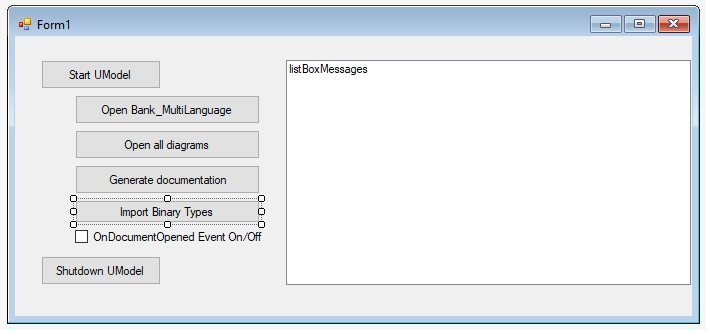
Next, open the Form1.cs in the Design Editor and add a new button. Let's call it Import Binary Types.
Double-click the new button and paste the following code into the body of the handler method. Make sure that the path to the .dll file is correct and that the .dll qualifies for import of binary types (that is, it must not be obfuscated).
try // Specify the .dll to import (make sure to adjust the path) |
Importing all types
The code above essentially creates a new UModel project, sets the import options in the "Import Binary Types" dialog box, and performs the actual import of binary types.
To run the C# code and import binary types:
1.Press F5 to build and run the Visual Studio solution.
2.On the Windows form that appears, click Start UModel, and be patient while the UModel application loads.
3.Only after UModel has finished loading, click Import Binary Types, and observe the outcome in the Messages window of UModel.
If you would like to import only specific types, set the ImportTypes property is false, and supply the types to be imported as arguments to the TypesToImport method. The list of distinct types can be separated by comma, semi-colon, or space characters, as illustrated in the code listing below.
try // import only specific types: |
Importing distinct types