Example: Generate and run Java code
This example walks you through the steps required to generate a Java application with MapForce, and compile it outside of MapForce using the Eclipse Integrated Development Environment (IDE) and Apache Ant. After completing this example, you will have created and compiled a complete Java application which executes one of the mapping samples available by default in MapForce.
If you can already compile successfully other Java applications with Eclipse and Ant, there are no special requirements to run this example. Otherwise, note the following prerequisites:
•Java Development Kit (JDK), Eclipse, and Ant must be installed on your system. Eclipse typically includes a bundled version of Ant but you can also install Ant separately, see also Building the project with Ant.
•To run Eclipse with OpenJDK, the PATH environment variable typically needs to include the path to the JDK bin directory (for example, C:\Java\jdk-11.0.1\bin).
•If you run Apache Ant standalone like in this example, the PATH environment variable should also include the path to Ant bin directory (for example, C:\apache-ant-1.10.5\bin), so that you can conveniently run Ant without having to type the full path to the executable at the command line.
This example uses the following configuration:
•MapForce 64-bit
•OpenJDK 11.0.1 64-bit
•Eclipse IDE for Java Developers, version 2019-03 (4.11.0), 64-bit
•Apache Ant 1.10.6 (installed as standalone) and Apache Ant 1.10.5 (bundled with Eclipse)
Step 1: Generate Java code
To generate the Java code from MapForce:
1.On the File menu, click Open, and browse for the CompletePO.mfd mapping available in the <Documents>\Altova\MapForce2023\MapForceExamples\ directory.
2.On the Output menu, click Java. This changes the transformation language to Java.
3.On the File menu, click Generate code in | Java. When prompted, browse for the directory where the Java project should be saved. For the purpose of this example, you might want to generate Java code to C:\codegen\java\CompletePO. You will need to refer to this path in subsequent steps.
Step 2: Import the project into Eclipse
To import the project into Eclipse:
1.If you haven't done so already, run Eclipse and switch to the default Java perspective using the menu command Window | Open Perspective.
2.On the File menu, click Import, and then select General | Existing Projects into Workspace.
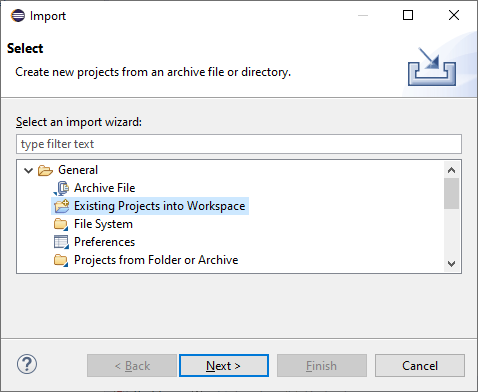
3.Click Next.
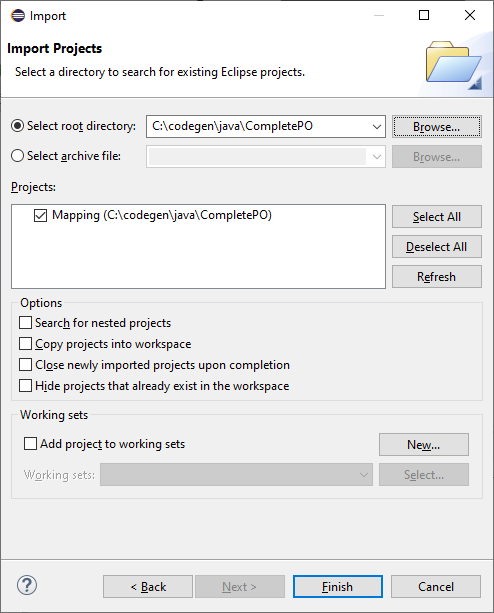
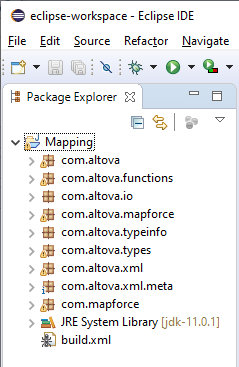
4.Browse for the folder where you have previously saved the generated code, and then click Finish. The Java project created by MapForce is now available in the Package Explorer view. If you cannot see the Package Explorer view, display it using the menu command Window | Show View | Package Explorer.
Step 3: Run the project as dialog application
To run the Java project as a GUI application:
1.In the Package Explorer view of Eclipse, click the MappingApplication.java file available in the com.mapforce package.
2.On the Run menu, click Run As | Java application.
3.On the MapForce application window, click Start to execute the mapping.
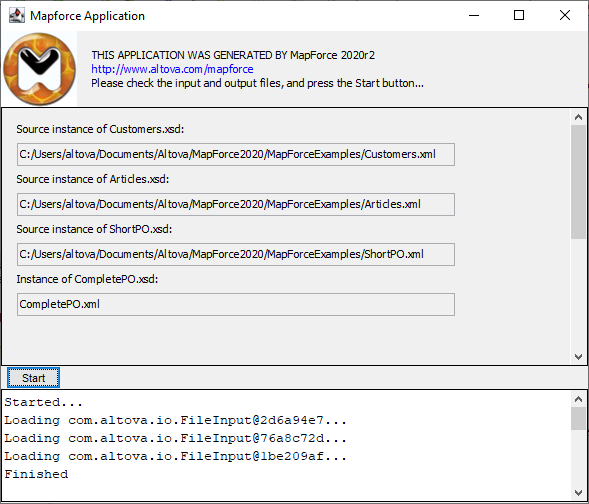
If Eclipse encounters system configuration or run-time errors, you will be prompted, see also Handling JDBC references. Otherwise, the Java application executes the mapping transformation and generates the CompletePO.xml at the output path (in this example, the output path is C:\codegen\Java\CompletePO).
Step 4: Run the project as console application
To run the Java project as a console application:
1.In the Package Explorer view of Eclipse, click the MappingConsole.java file available in the com.mapforce package.
2.On the Run menu, click Run As | Java application.
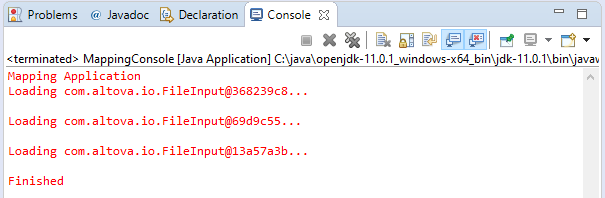
If Eclipse detects system configuration or run-time errors, you will be prompted, see also Handling JDBC references. Otherwise, the Java application executes the mapping transformation and generates the CompletePO.xml at the output path (in this example, the output path is C:\codegen\Java\CompletePO).
Step 5: Build the JAR file
If Apache Ant is bundled with Eclipse, you can build the JAR file directly from the Eclipse IDE. Otherwise, to build the JAR file at the command line outside of Eclipse, Apache Ant must be installed separately.
To build the .jar file with Ant in Eclipse:
1.In the Package Explorer view of Eclipse, right-click the build.xml file, and point to the Run As menu. In the Run As menu, two possible options to run the Ant build file are displayed. If you choose the first option, Eclipse launches the Ant build with the default settings. If you choose the second option, you can change the settings of the Ant build before launching it. Select the second option.

2.Click to enable the targets that you wish to include in the Ant build. In this example, the targets test and jar are selected.
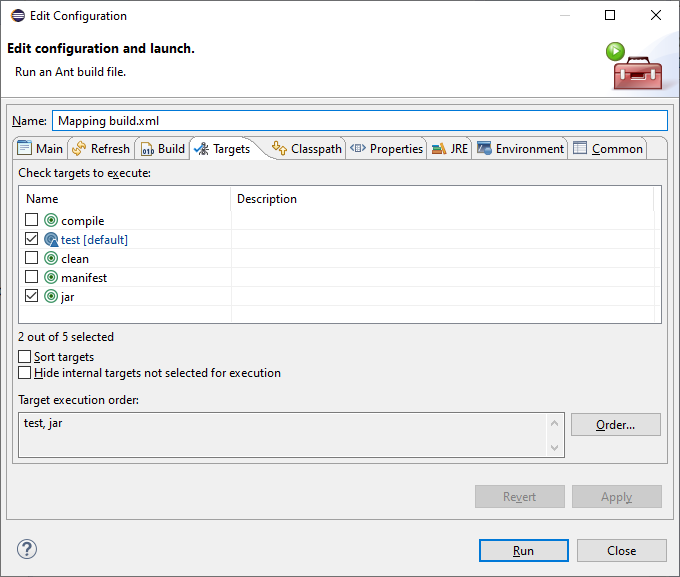
3.Click Run. Eclipse executes the Ant build file and displays the result in the Console view.
To build the JAR file at the command line:
1.Make sure that the directory where Apache Ant is installed (for example, C:\apache-ant-1.10.5\bin) is added to the PATH environment variable.
2.Open a Command Prompt window and change the current directory to the one where you generated Java code (in this example, C:\codegen\java\CompletePO). This is also the directory where the build.xml file was generated.
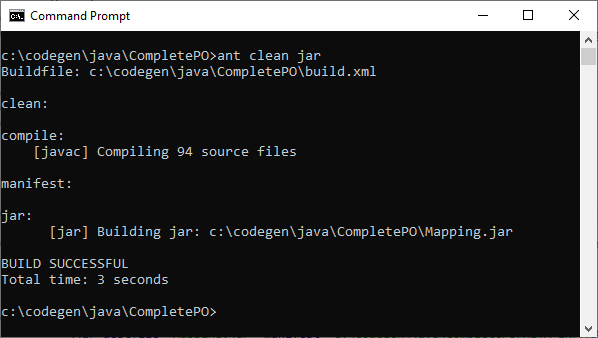
3.At the command line, enter:
ant clean jar |
Ant runs the "clean" and "jar" targets from the build.xml file (including any dependent targets), and displays the outcome at the command line: