Add Target Component
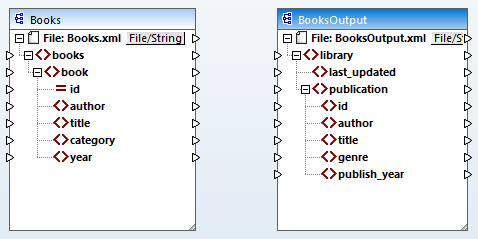
The next step is to add a target component and define its settings. Add the target file called Library.xsd to the mapping. Click Skip when MapForce suggests supplying an instance file. At this stage, the mapping design looks as follows:
Note that when you open Library.xsd, it is displayed as an XML file in the component. In fact, MapForce only creates a reference to the XML file called Library.xml, but this XML file itself does not yet exist. Thus, the target component has a schema but no content.
Component settings
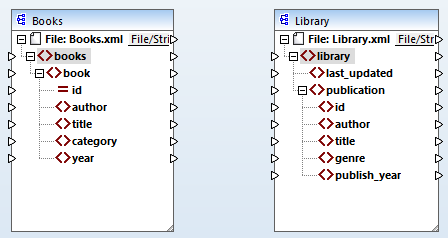
Now we need to rename the target component BooksOutput. The output file will be called BooksOutput.xml. This will allow us to avoid confusion in the next tutorials, as we are going to use a separate file called Library.xml, which has its own content and is based on the same Library.xsd schema. To rename the target file, double-click the header of the target component. This opens the Component Settings dialog box (see screenshot below), in which we need to change the names of the target component and target file as follows:

The mapping design now looks as follows: