Example: Import Java .class Files
This example shows you how to import compiled Java .class files into UModel. In this example, the source Java .class files originate from a tutorial Java project that was created with UModel, but you can also use other .class files as an alternative.
Compiling UModel-generated Java code (optional)
This section shows you how to compile a demo UModel-generated Java project with Eclipse. Note that this step is purely optional, the goal here is to obtain some compiled .class files. You can skip it if you already have readily available Java .class files. In this example, Eclipse is chosen as compilation environment for convenience; however, you can use the Java command line or some other Java development environment to achieve the same result.
1.If you haven't done that already, create a simple Java project with UModel, as shown in Example: Generate Java Code. This is a very simple example consisting of a Java package with only one class. When you complete the example, the directory C:\UModelDemo\src will contain the required Java source code.
2.Run Eclipse. On the File menu, click Import.
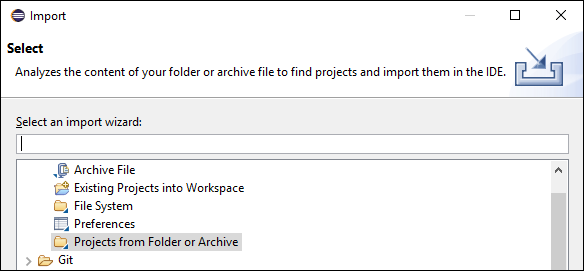
3.Select Projects from Folder or Archive, and click Next.
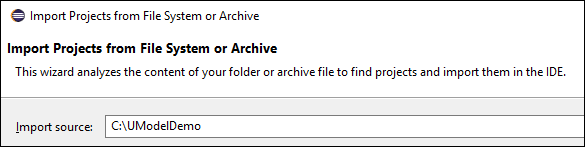
4.Enter C:\UModelDemo as directory, and click Finish.
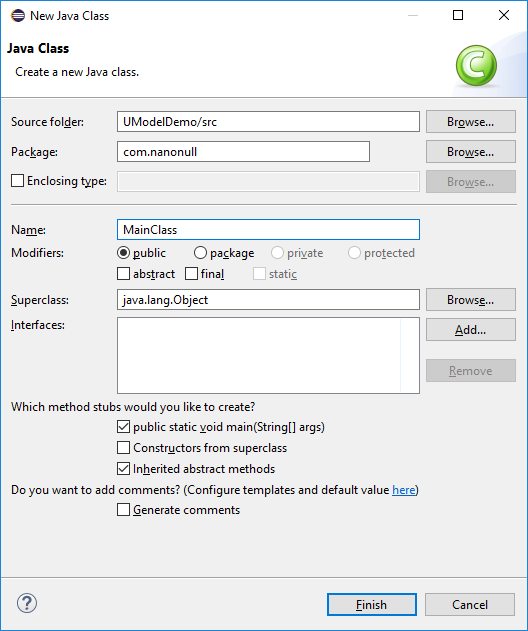
5.Right-click the com.nanonull package in Eclipse's Package Explorer and select New | Class from the context menu.
6.Enter a class name ("MainClass", in this example), and select the public static void main... check box.
7.On the Run menu, click Run.
You have now finished compiling the UModel-generated Java project. The compiled .class files should now be available in the bin sub-directory of your project's directory.
Finally, take note of the Java version used for compilation—this is important if you intend to import binary types later. By default, if you did not modify your Eclipse project properties, it is likely that it was compiled with the default Java version available to Eclipse. To view the default Java version, do the following in Eclipse:
1.On the Window menu, click Preferences.
2.Click Java, and then click Installed JREs.
Importing Java .class files
If you already have binary .class files such as the ones compiled previously, you can now proceed to importing them into UModel.
1.Create a new UModel project, or open an existing one. In this example, we are importing binary types into a new project.
2.If your project does not contain the Java JDK types already, do the following:
a.On the Project menu, click Include subproject.
b.Click the Java tab and select Java JDK (types only).
c.Select Include by reference when prompted.
Note: This is an optional step which normally prevents the "Unknown externals" package from appearing in the project after the import is complete.
3.On the Project menu, click Import Binary Types.
4.Select Java as language, and the Java version in which the Java code was compiled (for example, 11.0).
5.Select the Java runtime to be used by UModel for extracting information from the binary files (the so-called "reflection"). The runtime version must be equal or newer than the Java version selected in the previous step.

Note: The Runtime drop-down list contains only Java JDKs and JREs detected automatically. If your JDK or JRE is not listed, select the entry Edit user java runtime locations and browse for the directory where the respective distribution is installed on your machine, see Adding Custom Java Runtimes.
6.If you import binary types into a new project, select either Merge Code into Model or Overwrite Model according to Code. Otherwise, select Merge code into Model.
7.Optionally, to generate class diagrams and package diagrams from the imported binary types, select the Enable diagram generation check box. If you select this option, more diagram generation options are available in subsequent steps, see also Generating Class Diagrams and Generating Package Diagrams.
8.Click Next.
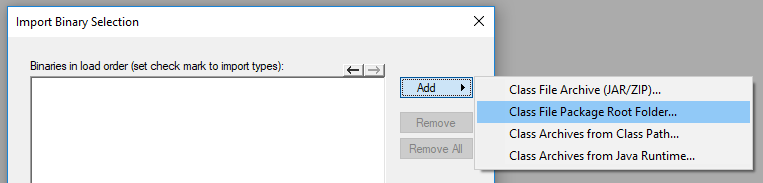
9.In this example, we are importing Java .class files from a package root. Select Add | Class File Package Root Folder. and browse for the C:\UModelDemo\bin directory. If this directory does not exist, make sure to compile the project first, as shown in the first part of this tutorial.
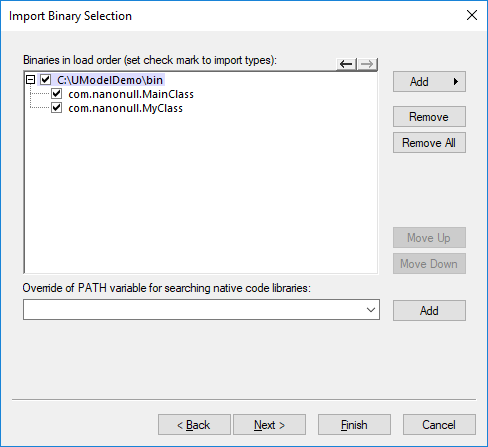
10.Select the classes to be imported, and click Next.
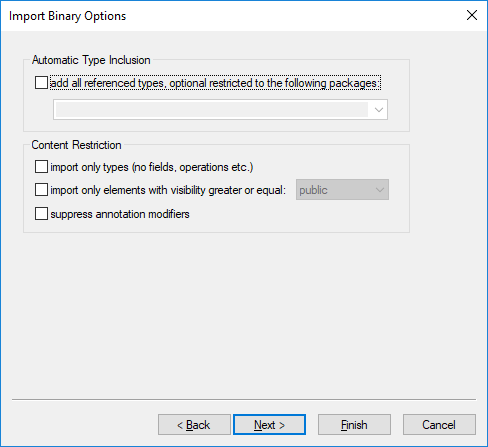
11.Select the import options as applicable, see Import Binary Options.
12.If you enabled diagram generation in an earlier step, click Next and configure the options applicable to diagram generation. Otherwise, click Finish.
UModel performs the conversion and displays a progress log in the Messages window. If the conversion of binary types is not possible, the error text may provide additional information. For example, the binary file you are trying to import is targeting a runtime newer than the one selected in the Import Binary Types dialog box. In this case, select a newer runtime version and try again.