Example: Setting up Automatic Synchronization
This tutorial illustrates how to set up automatic synchronization between a Java project and its corresponding UML model. Before you proceed, make sure that you have already installed the UModel plug-in for Eclipse, and the Java Development Kit (not just the Java Runtime Environment) required by Eclipse.
Step 1: Create a new Java project
We will begin by creating a new Java project in Eclipse. For the scope of this example, this will be a simple application that displays the text "Hello, World" when it is run.
To create the "Hello, World" application:
1.Start Eclipse and switch to the Java perspective.
2.On the File menu, click New | Project.
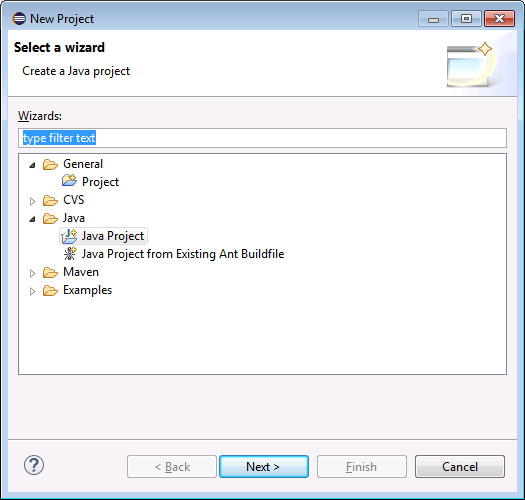
3.Select Java | Java Project, and then click Next.
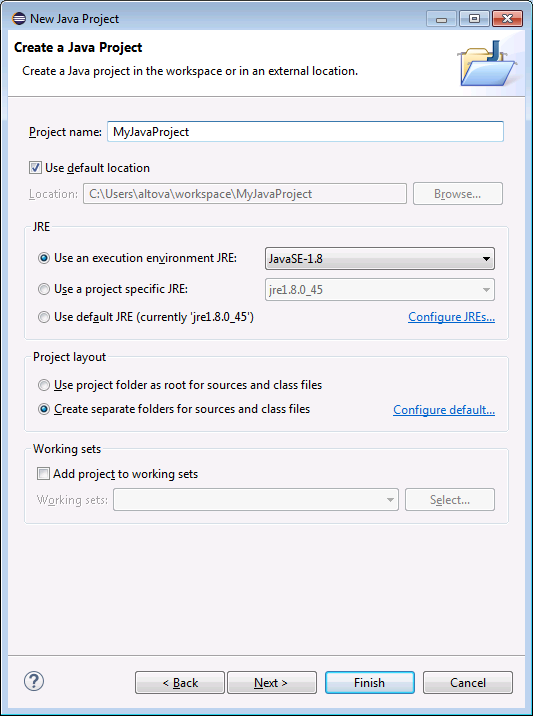
4.Enter "MyJavaProject" as project name, and then click Next.
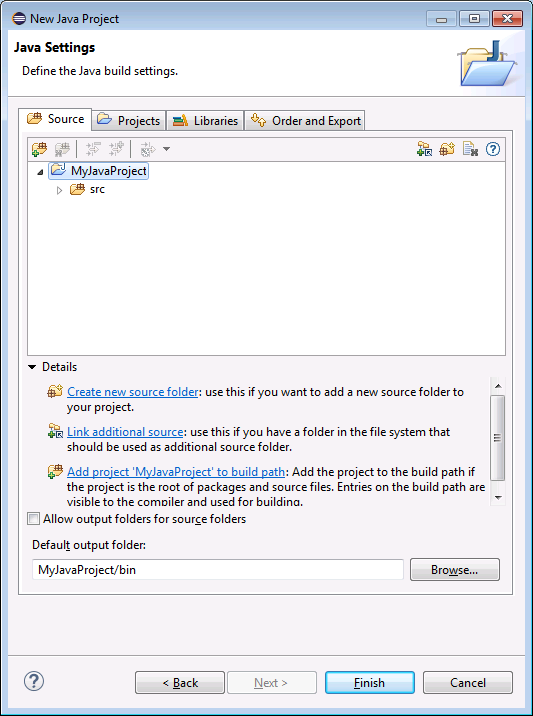
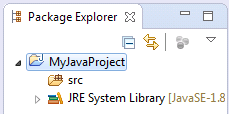
5.Leave the default settings as is, and click Finish. Your project now appears in the Package Explorer.
6.On the File menu, click New | Package.
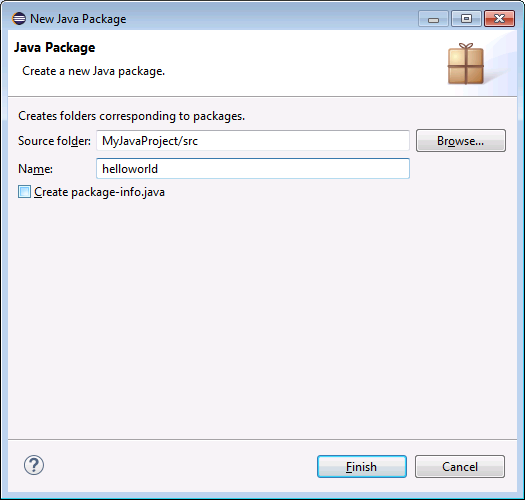
7.Enter "helloworld" as package name, and click Finish.
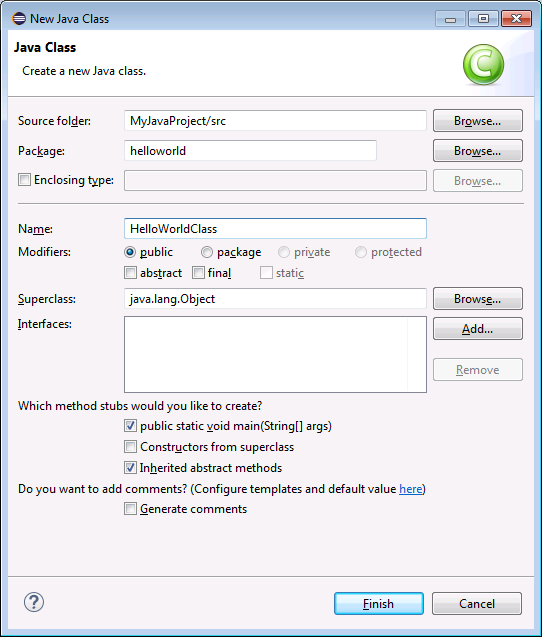
8.On the File menu, click New | Class. Enter "HelloWorldClass" as class name, and make sure to select the public static_void main(String[] args) option.
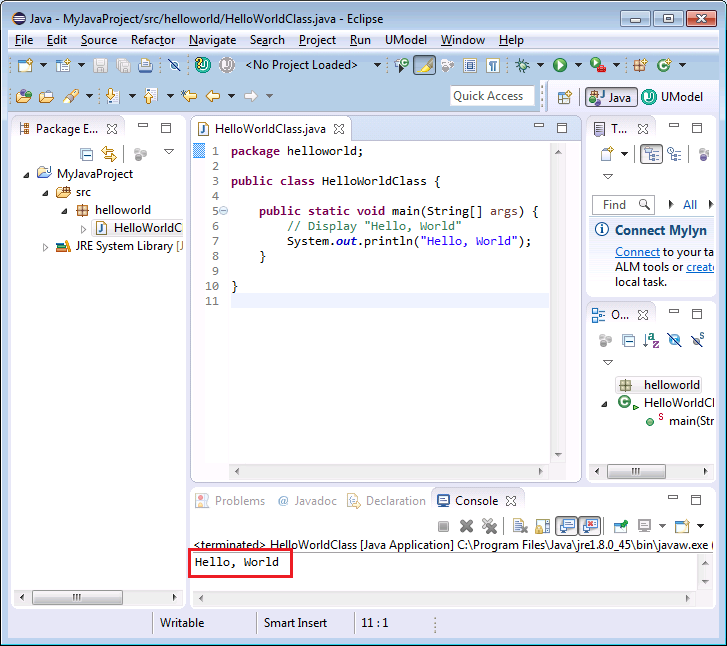
9.Open the class file, and add the following text to the body of the class:
package helloworld; |
10.Run the application. The Console view displays the text "Hello, World", as shown below.
Step 2: Add the UModel project to the Java project
It is now time to add the UModel project file to the Eclipse project. This will create a synchronization relationship between the model and the code.
1.On the File menu, click New | Other, and select UModel Project File.
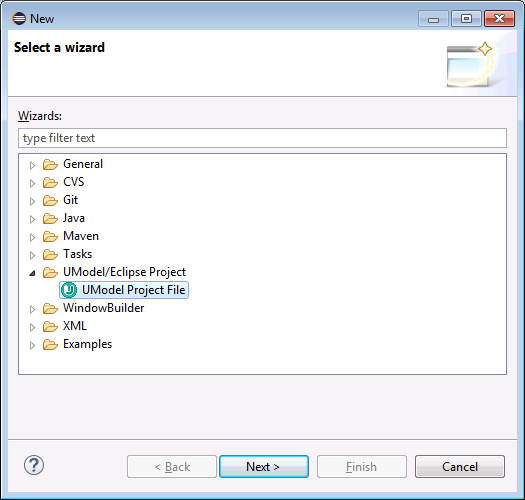
2.Click Next. When prompted to specify a location for the new UModel project, leave the default settings as is, and then click Finish.
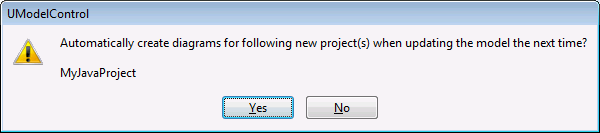
3.When prompted by UModel to create diagrams for the project, click Yes.
4.Go through the wizard steps, leaving the default settings as is. When you click Finish, the new UModel project is added to the Eclipse project, and synchronization of the code with the model takes place automatically. Notice the messages displayed in the Messages view of UModel.

Step 3: Trigger automatic synchronization from model to code
To trigger automatic synchronization from model to code, we will make some changes to the class diagram in the model. Namely, we will add to the class a new property called "Property1" of type "Boolean".
To add the property to the class:
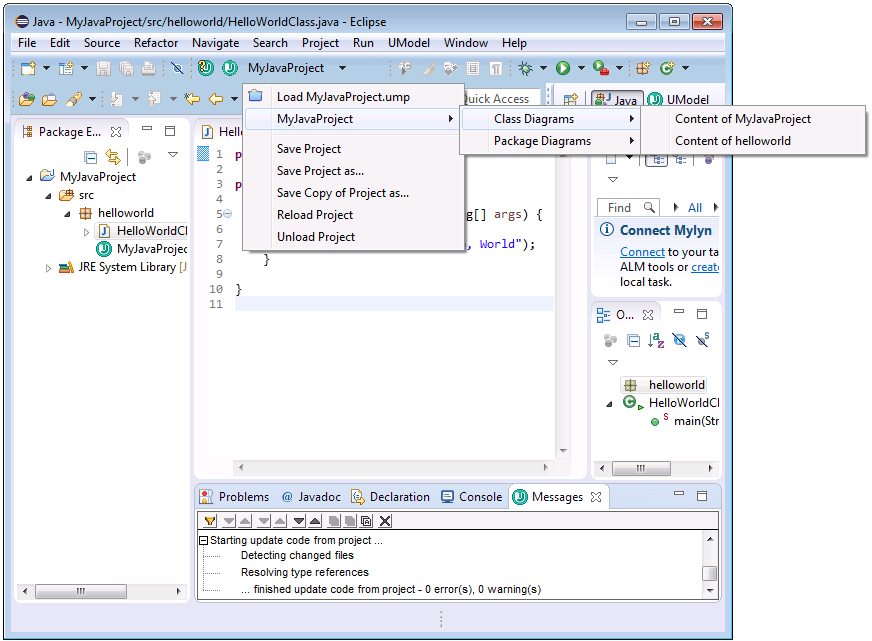
1.In the UModel toolbar, expand the project drop-down list, and open the generated "Content of helloworld" class diagram.
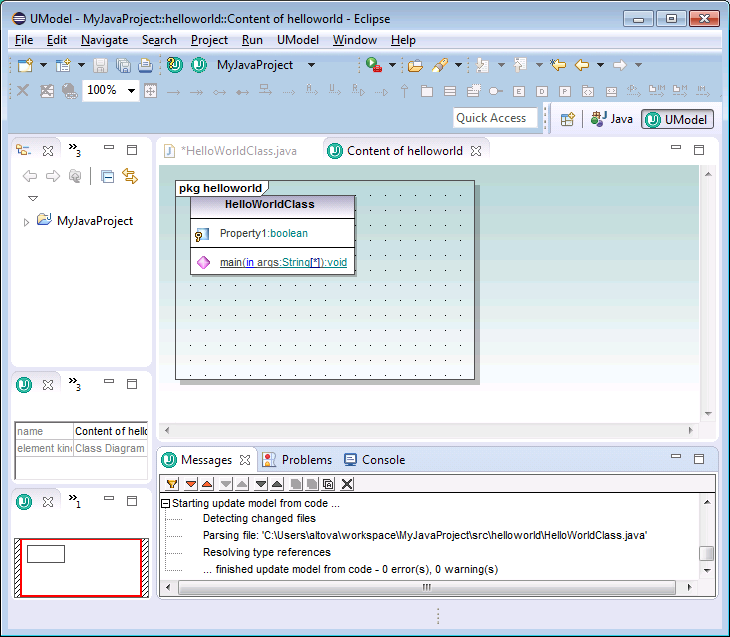
2.Right-click the class, and select New | Property from the context menu.
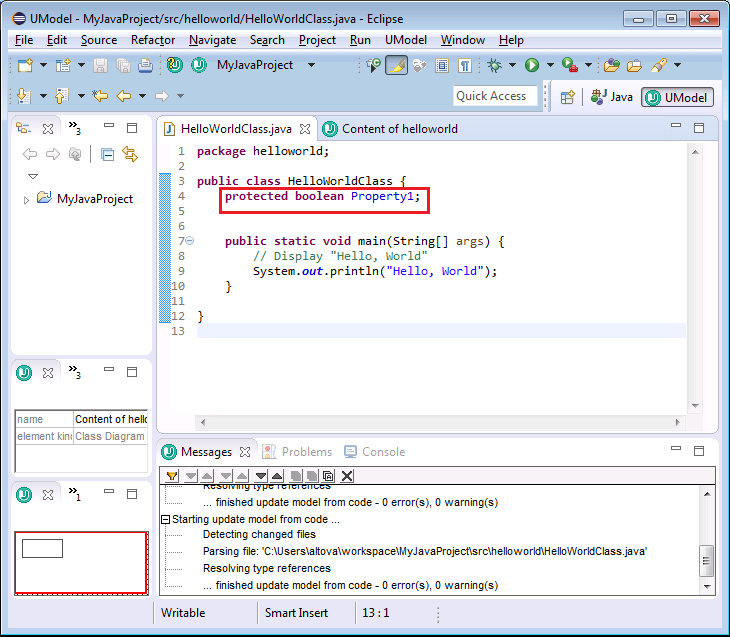
3.Type the property name ("Property1"), followed by the colon character ( : ), followed by the type ("boolean").
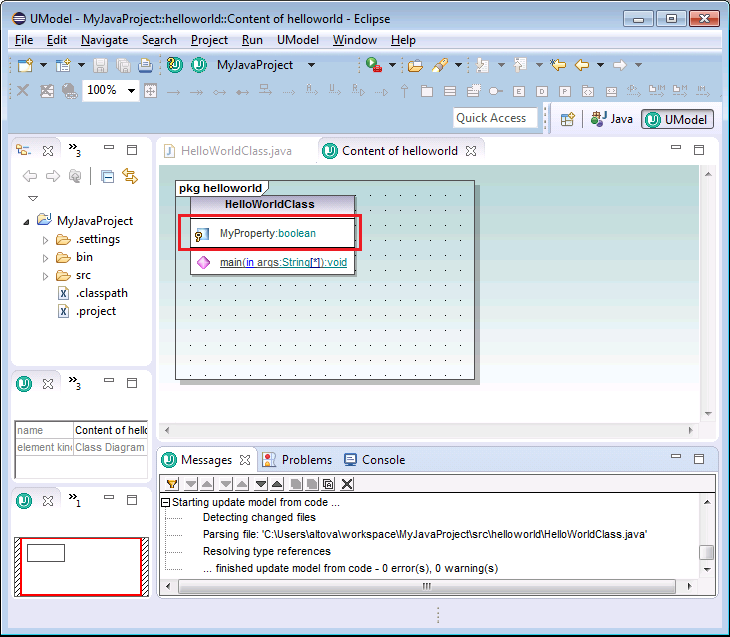
4.Switch back to the code editor. Notice that the newly added property is now reflected in the code.
Step 4. Trigger automatic synchronization from code to model
Let's now trigger automatic synchronization of changes in the opposite direction (from code to model). To do this, change in the code the name of the "Property1" property to "MyProperty", and then save the project. Notice that the changes are now reflected in the diagram.