Add to Source Control
Adds the selected files or folders to the source control database and places them under source control. If you are adding a new UModel project you will be prompted for the workspace folder and the location at which your project should be stored.
Having placed the UModel project file (*.ump) under source control, you can then add the code files produced by the code-engineering process, to source control as well. For this to work, the generated code files and the UModel project have to be placed in, or under, the same SourceSafe working directory. The working directory used in this section is C:\Users\Altova\Documents\UMODEL_WORK\.
To add UModel generated code files to source control:
| 1. | Expand the Component View folder in the Model Tree and Navigate to the BankView component. |
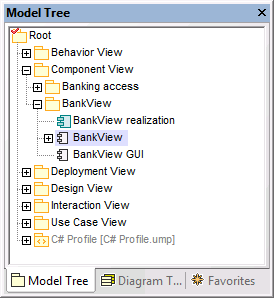
| 2. | Click the BankView component and click the Browse icon next to the "directory" field in the Properties window. |
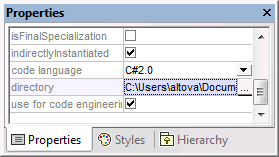
| 3. | Change the code engineering directory to C:\Users\Altova\Documents\UMODEL_WORK\codegen. |
| 4. | Select the menu item Project | Merge Program Code from UModel project. |
| 5. | Change the Synchronization settings if necessary, and click OK to confirm. |
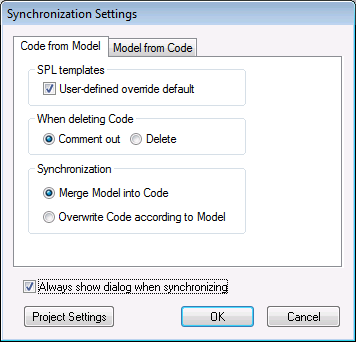
The Messages window displays the code from project process.
A message box opens asking if you want to place the newly created files under source control.
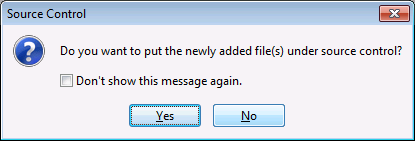 |
| 6. | Click Yes to do so. |
| 7. | The "Add to Source Control" dialog box is opened, allowing you to select the files you want to place under source control. |
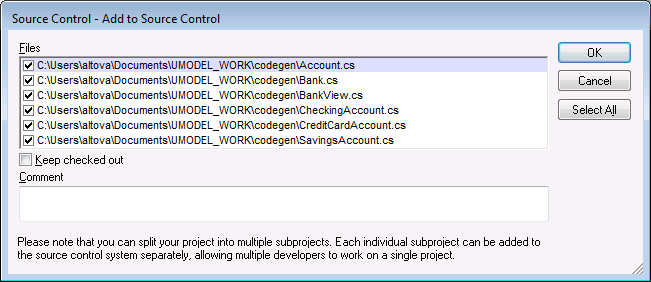 |
| 8. | Click OK once you have selected the files you want to place under source control. |
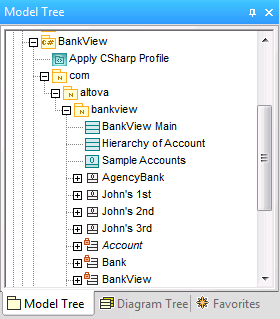
The lock symbol now appears next to each of the classes/file sources placed under source control.
 |