Creating Stereotypes
When you model projects using any of the UModel built-in profiles (such as C#, Java, VB.NET, XML schema, and so on), you shouldn't typically need to create any custom stereotypes. Instead, you can just apply the existing stereotypes to your model's elements, as described in Applying Stereotypes.
However, if you would like to add custom icons to elements or customize their appearance based on the applied stereotype, this can be achieved by creating custom stereotypes. Note the following prerequisites:
•Stereotypes must be owned by a profile or a package inside a profile. Therefore, in order to create a stereotype, you must create a profile first (or a package inside an existing profile).
•After creating the profile, you must apply it to the package where you need to use the custom stereotypes, as described in Creating and Applying Profiles.
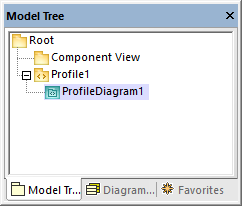
Once you have created a profile, you can start adding stereotypes to it. This can be done either directly in the Model Tree window, or from a profile diagram. If you would like to create stereotypes from a profile diagram, make sure that the diagram is owned by (created under) a profile, or by a package inside a profile, as shown below.
To create a stereotype:
1.If you haven't done so already, create a profile, see Creating and Applying Custom Profiles.
2.Optionally, right-click the profile and select New diagram | Profile diagram from the context menu. This creates a new profile diagram under the current profile—it will help you visualize in one place all the stereotypes, data types, and other elements that you will subsequently add to the profile.
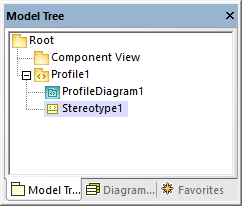
3.Right-click the profile in the Model Tree window, and select New element | Stereotype from the context menu.
4.Optionally, set the stereotype properties in the Properties window. For example, if you set the stereotype's metaclass to "Class", the stereotype will apply to classes only. Likewise, you can set a custom icon for the stereotype by clicking the Ellipsis  button next to icon file name.
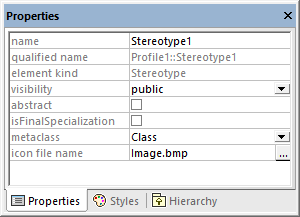
Notes •If the image path is relative, it must be relative to the UModel project's folder. •To use custom icons with transparent background, set their background color to RGB value 82,82,82. •To display stereotypes for association relationships, set the Show MemberEnd stereotypes property to "true" in the Styles window. |
Adding stereotype attributes (properties)
The stereotype created above is very simple and does not have any attributes (properties) associated with it. It is, however, possible to add properties to a stereotype. Such properties will become tagged values when this stereotype is applied to some element in future.
To add attributes (properties) to a stereotype:
1.Click the stereotype in the Model Tree window or on the diagram.
2.Do one of the following
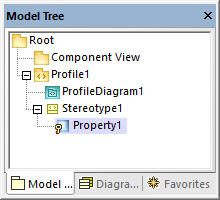
a.Right-click the stereotype and select New | Property from the context menu.
b.Press F7.
You can set the data type of each property from the Properties window, by selecting a value from the type list. Any data type previously defined in the same profile as the stereotype is available for selection. If the profile doesn't contain any data types yet, you can define one by right-clicking the profile diagram, and selecting New | Data type from the context menu.
To set the default value of a property, enter that value in the default field of the Properties window. For example, the stereotype property illustrated below has "0" as default value:
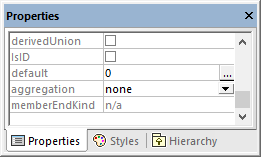
The data type of a stereotype attribute (property) can also be an enumeration, see Example: Creating and Applying Stereotypes.